 Save
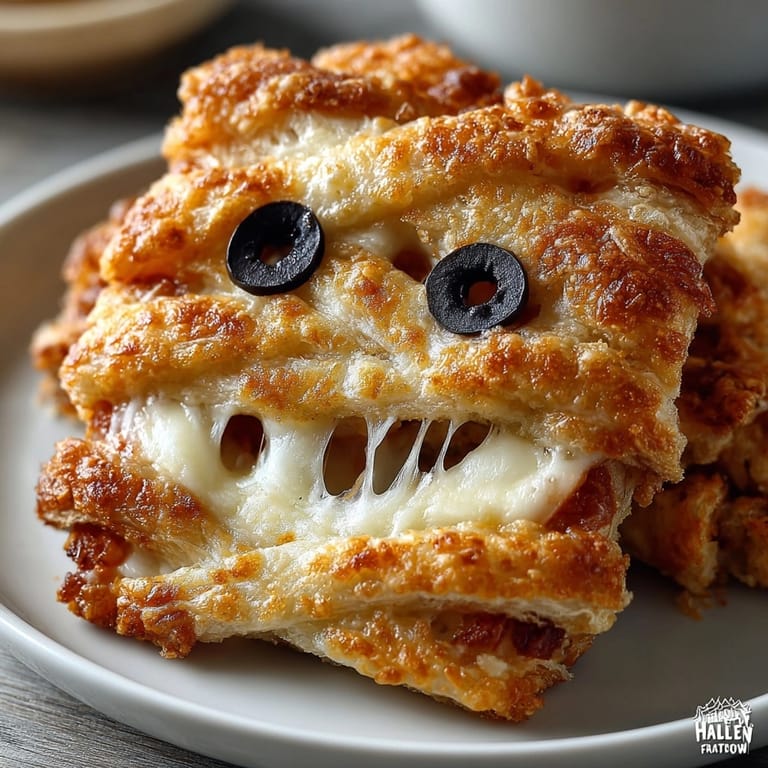
Save This Halloween Grilled Cheese Mummy Wraps recipe transforms ordinary grilled cheese into a festive treat that will delight both kids and adults alike. The combination of crispy golden puff pastry and gooey melted cheese creates a delicious handheld snack, while the olive eyes add that perfect spooky touch for Halloween celebrations.
I first created these mummy wraps for my nephew's Halloween party last year, and they were such a hit that the kids actually forgot about the candy for a few minutes. Now they've become our official pre-trick-or-treating meal tradition!
Ingredients
- Puff pastry sheet: thawed completely for easy handling and creates those perfect flaky layers when baked
- Cheddar cheese slices: provides that classic sharp flavor that kids and adults love
- Mozzarella cheese slices: creates the perfect melty stretch when pulled apart
- Unsalted butter: adds rich flavor and helps achieve golden brown pastry
- Black olives: create the perfect spooky eyes and add a subtle tangy flavor
- Egg wash: optional but gives the pastry an extra golden sheen
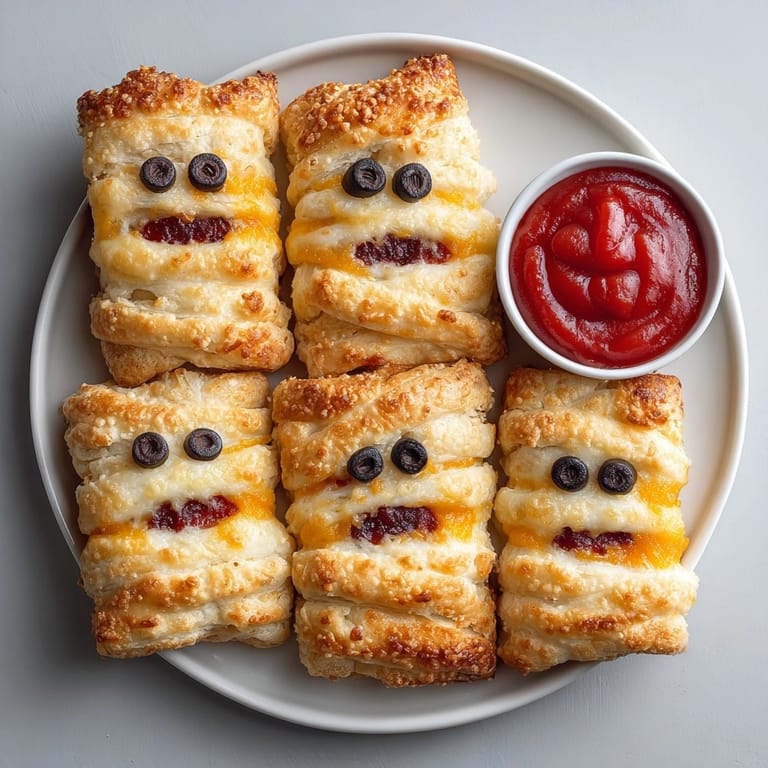
- Ketchup or marinara sauce: for dipping adds a "bloody" Halloween touch
Tired of Takeout? 🥡
Get 10 meals you can make faster than delivery arrives. Seriously.
One email. No spam. Unsubscribe anytime.
Instructions
- Prepare the Oven:
- Preheat your oven to 400°F and line a baking sheet with parchment paper. The high temperature ensures your pastry puffs up beautifully while creating a crisp exterior.
- Prepare the Pastry:
- Cut the thawed puff pastry sheet into 6 equal rectangles about 4x6 inches each. Make sure your pastry is completely thawed but still cold for easiest handling. If it becomes too warm, pop it in the refrigerator for 5 minutes.
- Add the Cheese:
- Place one slice each of cheddar and mozzarella in the center of each rectangle. The combination of these two cheeses creates the perfect balance of flavor and meltability. Leave enough space around the edges for wrapping.
- Create Mummy Strips:
- Using a sharp knife or pizza cutter, make cuts about half an inch apart along both long sides of each rectangle, leaving the center portion intact where the cheese sits. Make sure to cut all the way to the cheese but not through it.
- Form the Mummy Wraps:
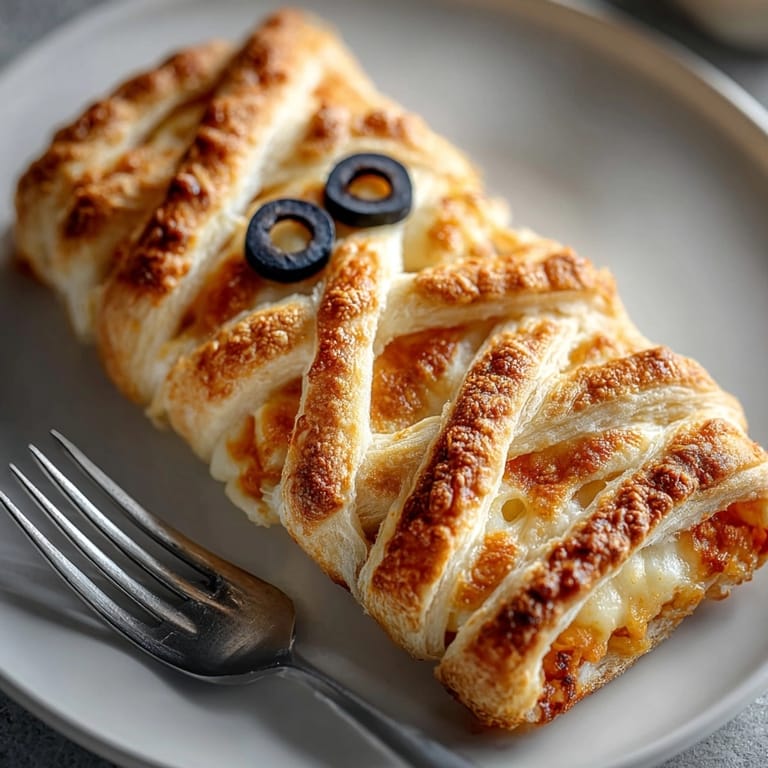
- Fold the strips over the cheese, alternating from side to side to create the mummy bandage effect. Leave a small gap near the top where the eyes will go. Dont worry if they arent perfect, imperfection adds to the spooky charm!
- Brush with Butter:
- Use a pastry brush to coat each mummy wrap with melted butter or egg wash. This ensures a golden brown finish and adds rich flavor to the pastry.
- Bake to Perfection:
- Place your mummy wraps in the preheated oven and bake for 12 to 15 minutes, until the pastry is puffed up and golden brown. The cheese should be completely melted inside.
- Add the Eyes:
- Immediately after removing from the oven, press two olive slices into the exposed cheese section to create eyes. The warm cheese will help secure them in place.
 Save
Save The first time I made these, I accidentally used frozen pastry that wasnt fully thawed, and they didnt puff up properly. Now I always make sure to thaw the pastry completely but keep it cold until ready to use. That little trick makes all the difference in achieving that perfect flaky texture!
Make-Ahead Options
These mummy wraps can be assembled up to 24 hours in advance and kept covered in the refrigerator. Simply brush with butter or egg wash just before baking. This makes them perfect for busy Halloween parties when youre juggling multiple preparations.
Creative Variations
While the classic cheese version is always a hit, you can easily customize these mummy wraps to suit different tastes. Try adding a thin layer of pizza sauce before the cheese for a pizza-inspired version. For meat lovers, a sprinkle of cooked ground beef or small pieces of pepperoni work wonderfully. Vegetable additions like finely chopped spinach or thin slices of roasted red pepper add color and nutrition without compromising the mummy appearance.
Serving Suggestions
Create a Halloween-themed dipping station with ketchup labeled as "blood," guacamole as "monster slime," and ranch dressing as "ghost goo." Serve alongside a vegetable platter arranged in the shape of a skeleton for a complete festive spread. These wraps pair wonderfully with tomato soup served in small cauldron cups for a more substantial meal before trick-or-treating.
Kid-Friendly Cooking Project
Turn the assembly of these mummy wraps into a fun Halloween activity. Set up a mummy-making station where kids can create their own wraps by folding the pastry strips themselves. Younger children can help by placing the olive eyes once the wraps are baked. This hands-on approach not only creates lasting memories but also encourages kids to try new foods they helped prepare.
Storage and Reheating
Store any leftover mummy wraps in an airtight container in the refrigerator for up to 3 days. To reheat, place them in a 350°F oven for 5-7 minutes until warm and crisp again. Avoid microwaving as this will make the pastry soggy. These wraps also freeze beautifully before baking. Simply freeze them on a baking sheet until solid, then transfer to a freezer bag. Bake from frozen, adding an extra 5 minutes to the baking time.
 Save
Save Enjoy these spooky and delicious mummy wraps as a fun Halloween treat!