 Save
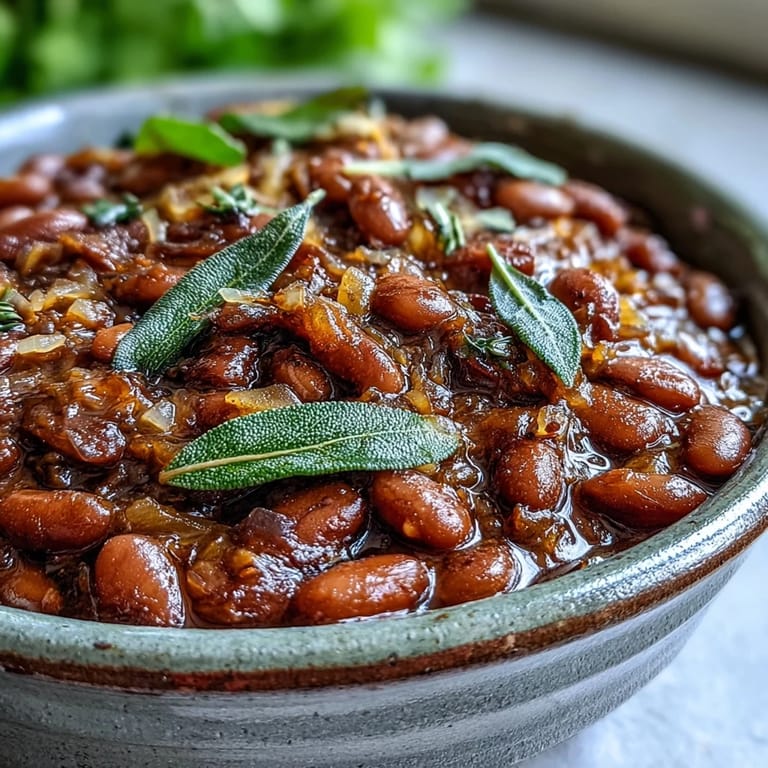
Save My grandmother never measured anything when she made beans, just poured them from the bag into her largest pot with a satisfied thump. She'd tell me beans were patient food, willing to wait while you went about your day, then ready to feed a crowd without complaint. The smell of simmering pinto beans with onions and garlic still takes me straight back to her kitchen, where the screen door banged and every neighbor knew they were welcome at her table.
Last winter, during that week when we all got snowed in together, I made a massive pot of these beans for my family. My sister kept wandering into the kitchen, dipping a spoon into the simmering pot, declaring they needed more salt, then eating half a bowl standing at the stove. By dinner time, we'd eaten nearly the whole batch with nothing but tortilla chips and some shredded cheese, everyone crowded around the coffee table while the snow piled up outside.
Ingredients
- 1 pound dried pinto beans, rinsed: Sort through them first and pick out any small stones or shriveled beans, then give them a good rinse
- ½ medium yellow onion, finely diced: The onion nearly disappears into the beans but leaves behind this subtle sweetness that makes all the difference
- 2 teaspoons garlic, minced: Fresh garlic works best here, so do not even think about using the jarred stuff
- 2 bay leaves: Remove them before serving because nobody wants an unexpected bay leaf surprise
- ⅓ cup extra-virgin olive oil: The fat makes these beans luxurious and creamy, plus it helps carry all that onion and garlic flavor throughout the pot
- 4 cups cold water: Cold water helps the beans cook evenly, so start with cold, not hot, from the tap
- 1 tablespoon kosher salt: Save the salt for the very end because adding it too early can make the beans tough
Tired of Takeout? 🥡
Get 10 meals you can make faster than delivery arrives. Seriously.
One email. No spam. Unsubscribe anytime.
Instructions
- Give those beans a good soak:
- Dump your rinsed beans into a large bowl and cover them with plenty of cold water, about 2 or 3 inches above the beans. Let them sit at room temperature for at least 8 hours or overnight.
- Start the pot right:
- Drain and rinse those soaked beans, then move them to your Dutch oven or heavy pot. Pour in 4 cups of cold water and add the diced onion, minced garlic, bay leaves, and olive oil.
- Bring things to a gentle boil:
- Crank the heat to medium-high and wait for bubbles to appear, then skim off any foam that forms on top. This foam is just starch and proteins, so get rid of it for cleaner-tasting beans.
- Let them simmer slowly:
- Turn the heat down to medium-low and let the beans cook uncovered for 1.5 to 2 hours. Stir them occasionally and add more water if you see the beans peeking above the surface.
- Finish with salt:
- During the last 10 minutes of cooking, stir in the salt and give everything a taste. Add more if needed, then remove from heat when the beans are tender but still holding their shape. Fish out those bay leaves before serving.
 Save
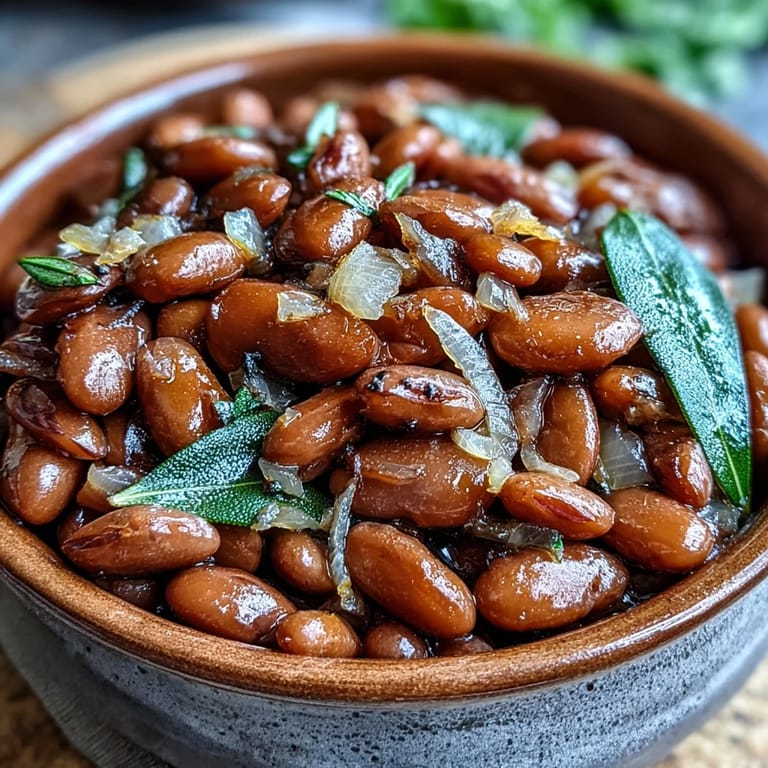
Save These beans became my go-to meal during my first year out of college, when money was tight and dinner needed to be both filling and cheap. I would make a batch on Sunday and eat them for breakfast with fried eggs, lunch over rice with hot sauce, and dinner wrapped in tortillas with whatever cheese I had on hand. Something about a pot of beans simmering on the back burner made my tiny apartment feel like a real home.
Make Them Your Own
Throw in a smoked ham hock or a few strips of bacon at the start for smoky depth. Drop a dried chipotle or arbol pepper into the pot if you want gentle heat in the background. Swap the olive oil for bacon grease or lard and you will taste the difference immediately.
Beyond The Basic Bowl
Mash some of these beans in a skillet with a splash of the cooking liquid and you have the best refried beans you have ever tasted. Use them as the base for a hearty chili instead of canned beans. Serve them over rice with a fried egg on top for breakfast. Tuck them into breakfast burritos with scrambled eggs and cheese.
Storage And Make-Ahead Tips
These beans actually taste better on day two or three because the flavors have more time to meld together. Store them in the cooking liquid so they stay creamy and never dry out in the fridge. Freeze them in portion-sized containers for those nights when cooking feels impossible.
- Beans keep in the refrigerator for up to 5 days when stored in an airtight container
- Freeze them with some of the cooking liquid for up to 3 months and thaw overnight in the fridge
- Reheat gently on the stove with a splash of water to bring back their creamy texture
 Save
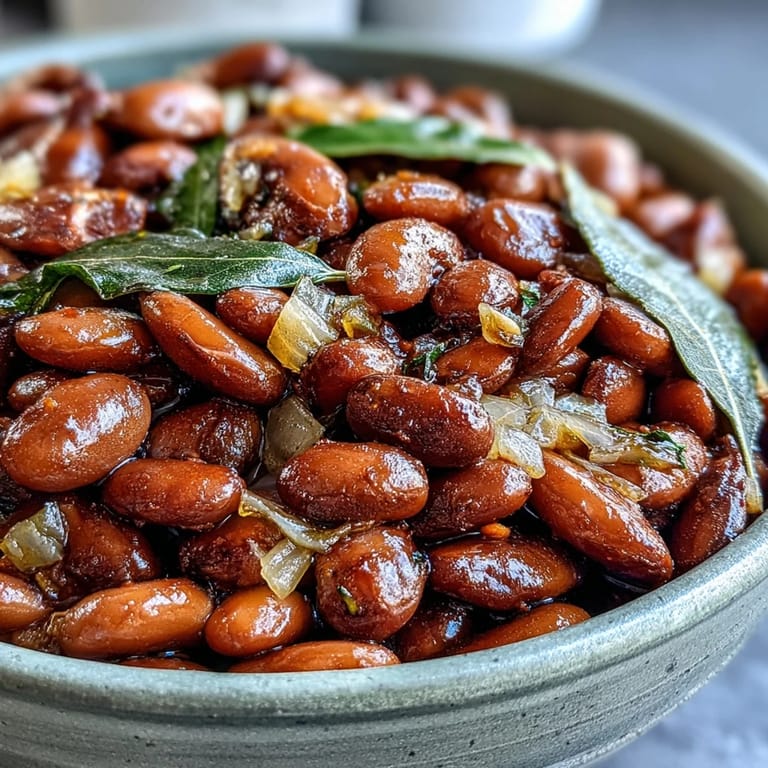
Save A pot of beans is never just beans. It is comfort, sustenance, and the kind of food that makes people feel welcome in your home without you saying a word.
Recipe FAQ
- → Do I really need to soak the beans overnight?
Yes, soaking for 8-24 hours ensures even cooking and tender texture. It also reduces cooking time and helps break down compounds that can cause digestive discomfort. If you're short on time, use the quick-soak method: boil beans for 2 minutes, then let soak for 1 hour before cooking.
- → Why add salt at the end instead of the beginning?
Adding salt during the last 10 minutes prevents the beans from becoming tough and slowing down the cooking process. Early salting can make bean skins firm and extend cooking time significantly. Seasoning at the end allows you to adjust to taste precisely.
- → What's the purpose of olive oil in the cooking liquid?
The olive oil adds richness and creates a velvety, creamy texture as the beans cook. It also helps prevent foaming and contributes to a more flavorful finished dish. You can substitute with neutral oil or reduce the amount for a lighter version.
- → How do I know when the beans are done?
Beans are perfectly cooked when they're tender enough to easily mash between your fingers but still hold their shape. Taste a few beans to ensure there's no chalkiness or hardness. They should be creamy throughout without falling apart completely.
- → Can I cook these without soaking first?
You can, but cooking time will extend to 3-4 hours and the texture may be less consistent. Unsoaked beans also cook more unevenly, with some becoming mushy while others remain firm. For best results, plan ahead and soak overnight.